Monday 14 January 2019

TOP3000 Universal Programmer

I recently purchased a TOP3000 Programmer. Should come in handy for many retro gaming and computer projects. After some research I settled on the TOP3000 because it has a 48pin ZIF socket.


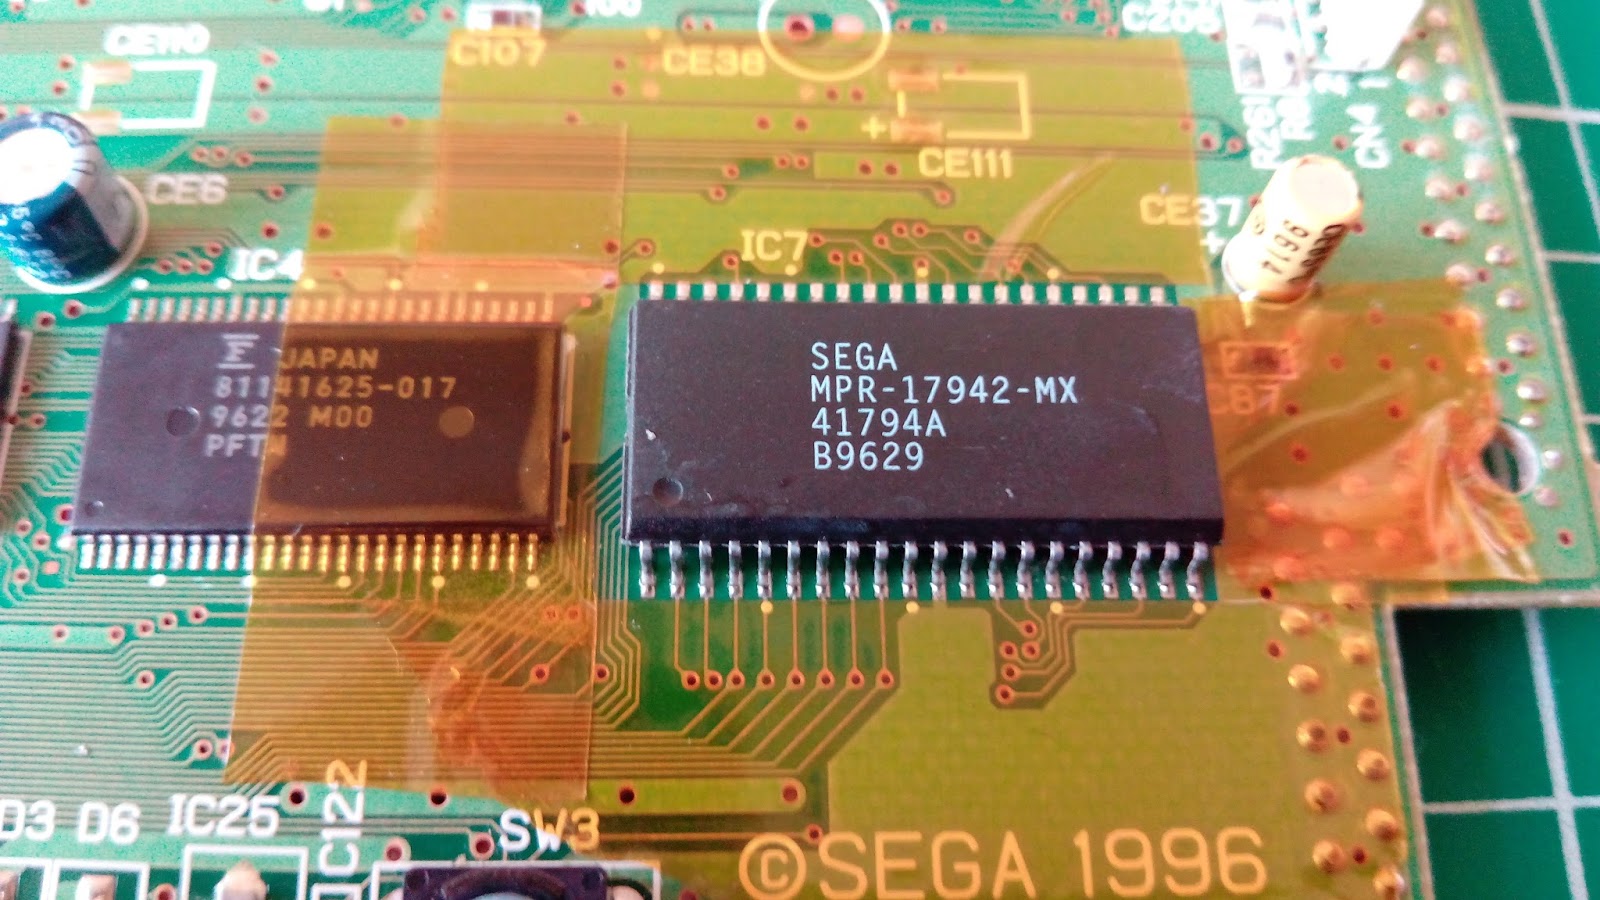
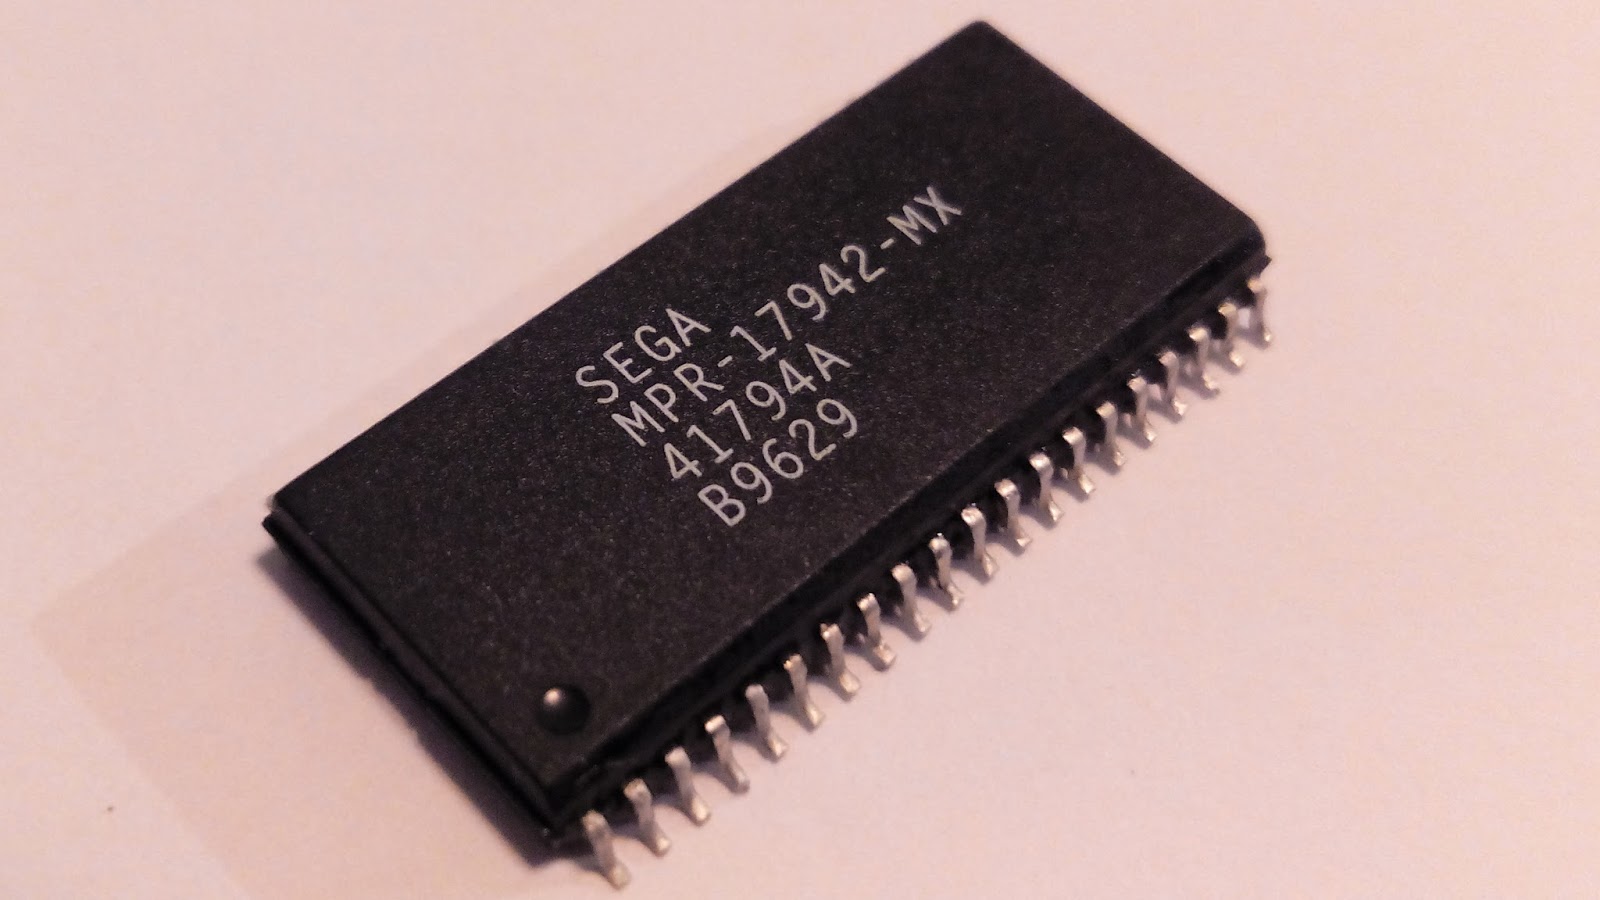
This allow you to work with 42pin EPROM devices, such as those found in the SEGA Mega Drive / Genesis cartridges without the need for adapters. The larger 48pin ZIF socket on this device is also capable of programming many BIOS ROMs for older/retro 8bit & 16bit computers.

I currently only have an external USB DVD/CD drive. It's stored away in a box, so when the unit arrived, I went online to see if I could find the TOP3000 software API called Topall 8x. I couldn't find any functioning links to download it from, so I decided to dig out my USB optical drive and create an ISO of  the disk that came with the unit. Anyone can download the disk image from the public link bellow.


TOP3000-TopAll-8.37


This is the latest software for use with this device in Windows 10, as of this post (also works with XP/Vista/Win7/Win8, X64 & X86 ).

I have some cool projects involving the TOP3000 coming up in the near future, so stay tuned for more.

Saturday 11 November 2017

Sega Saturn - Part 01 - Region Free Bios

I finished the first part of my Sega Saturn MOD. The region free Bios. This was my first time replacing a SMD like this. Some tutorials online recommend cutting the legs of the chip. I noticed this often led to some of the pads getting damaged, so I decided to use  ChipQuik SMD removal alloy. A low temperature, Bismuth Alloy. It stays molten long enough for easy SMD removal. Farnell sell a kit of the stuff and I still have a bit left over. May come in handy if I ever need to do work like this again in the future.


Original IC7 Bios Chip. Kapton tape around the work area just in case.

I don't have any pictures of the board with the chip off or the ChipQuik process. I was focused on the work a bit too much. The pads cleaned up great, no damage. I was using my smallest tip I have on the iron. In the future I'll use the standard chisel tip when working with the ChipQuik alloy.


 The new region free Bios before I wired power to the rased pins (AWG30 Solid Core). 


Here's the old Bios chip, prior to cleanup with ChipQuik Alloy still there.


After clean up, the chip is still in great shape.
(Going to hold onto this chip, you never know when it might come in handy) 


I used a tiny spot of bluetack to hold the chip in place as I was lining it up. I used allot of flux and touched up each solder joint several times as best I could. I don't have any magnification or inspection equipment so I had no choice but to take my time. Working with my smallest Iron tip & crazy amounts of gel flux. I'm still far from good at soldering but every thing worked out OK. As a hobbyist I'm getting there.


I have a CD mod-chip on the way, that will allow me to play backups of my games. Once it arrives, I'll install it and the Saturn project will be complete. It's a relatively easy install with only one wire to solder.


I got the region free Bios chip from Zer0-2k11 on https://www.obscuregamers.com. Great guy, easy to deal with. Fast shipping and fair prices. I highly recommend checking out his mod shop here.

Thewheelman282 has a great video on this mod on his youtube channel. It was a big help in doing the mod.


This was my first time removing and replacing an SMD chip. So I don't have any other methods to compare it to. I would however, highly recommend ChipQuik removal alloy. I didn't damage any pads on the board and the pins on the chip are still in good shape. I should have practised on an old board but I was lucky, every thing went so smooth. I got my ChipQuik SMD removal kit from Farnell. Fast delivery and a fair price.


If you'd like to find out more about how to work with the ChipQuik SMD removal kit. Dave of EEVBlog has a great video, showing how to use it.


Monday 30 October 2017

Sega Megadrive Project Update

Back in April of this year I did a project with a Japanese Megadrive. You can see more about that project here.  
 

------------------------
Some time has passed and I wanted to go back and fix a few things that have been nagging me about the finished console.

The region and language switches I had installed, are  unfortunately in the way of the expansion slot. Now, I don't intend on ever hooking this console to a Mega CD, still it's a bit of a shame.


Here you can see the switches, not great if you want to use the Mega CD .


The now removed, red Over-clock switch.

Originally the clock switch had been installed so that a Mega CD or 32x accessories could get the original clock signal if needed, as they would not function correctly (if at all) with the 10Mhz over-clock. This and the fact that not all games work great with an overclock and not all Motorola 68000 CPUs are up for it. I decided to remove the overclock mod.
 

I have more then one Megadrive. So I can always use another if I ever want to use a MegaCD. So basically I removed the overclock mod and I added  a nice new blue power LED.

If I'm ever doing this MOD again on another Megadrive, I'll locate all the switches on the other side. Even better again, I'll use an IC like the AT tiny, to control every thing rather then switches. 

It's running great, considering this poor old girl has been through the wars. Who ever had it before me was anything but nice to it, with their MODing attempts. Ripping pads, damaging control port connections and leaving flux all over the main board. I've done my best to undo some of the botched stuff. Re-flowing dry damaged joints, fixing pads and cleaning all the old flux off. I don't want to do too much more with the old girl. She's had enough Moding and abuse over the years. As it is now it should continue to play games for a long time to come, or until the capacitors fail many years from now.